
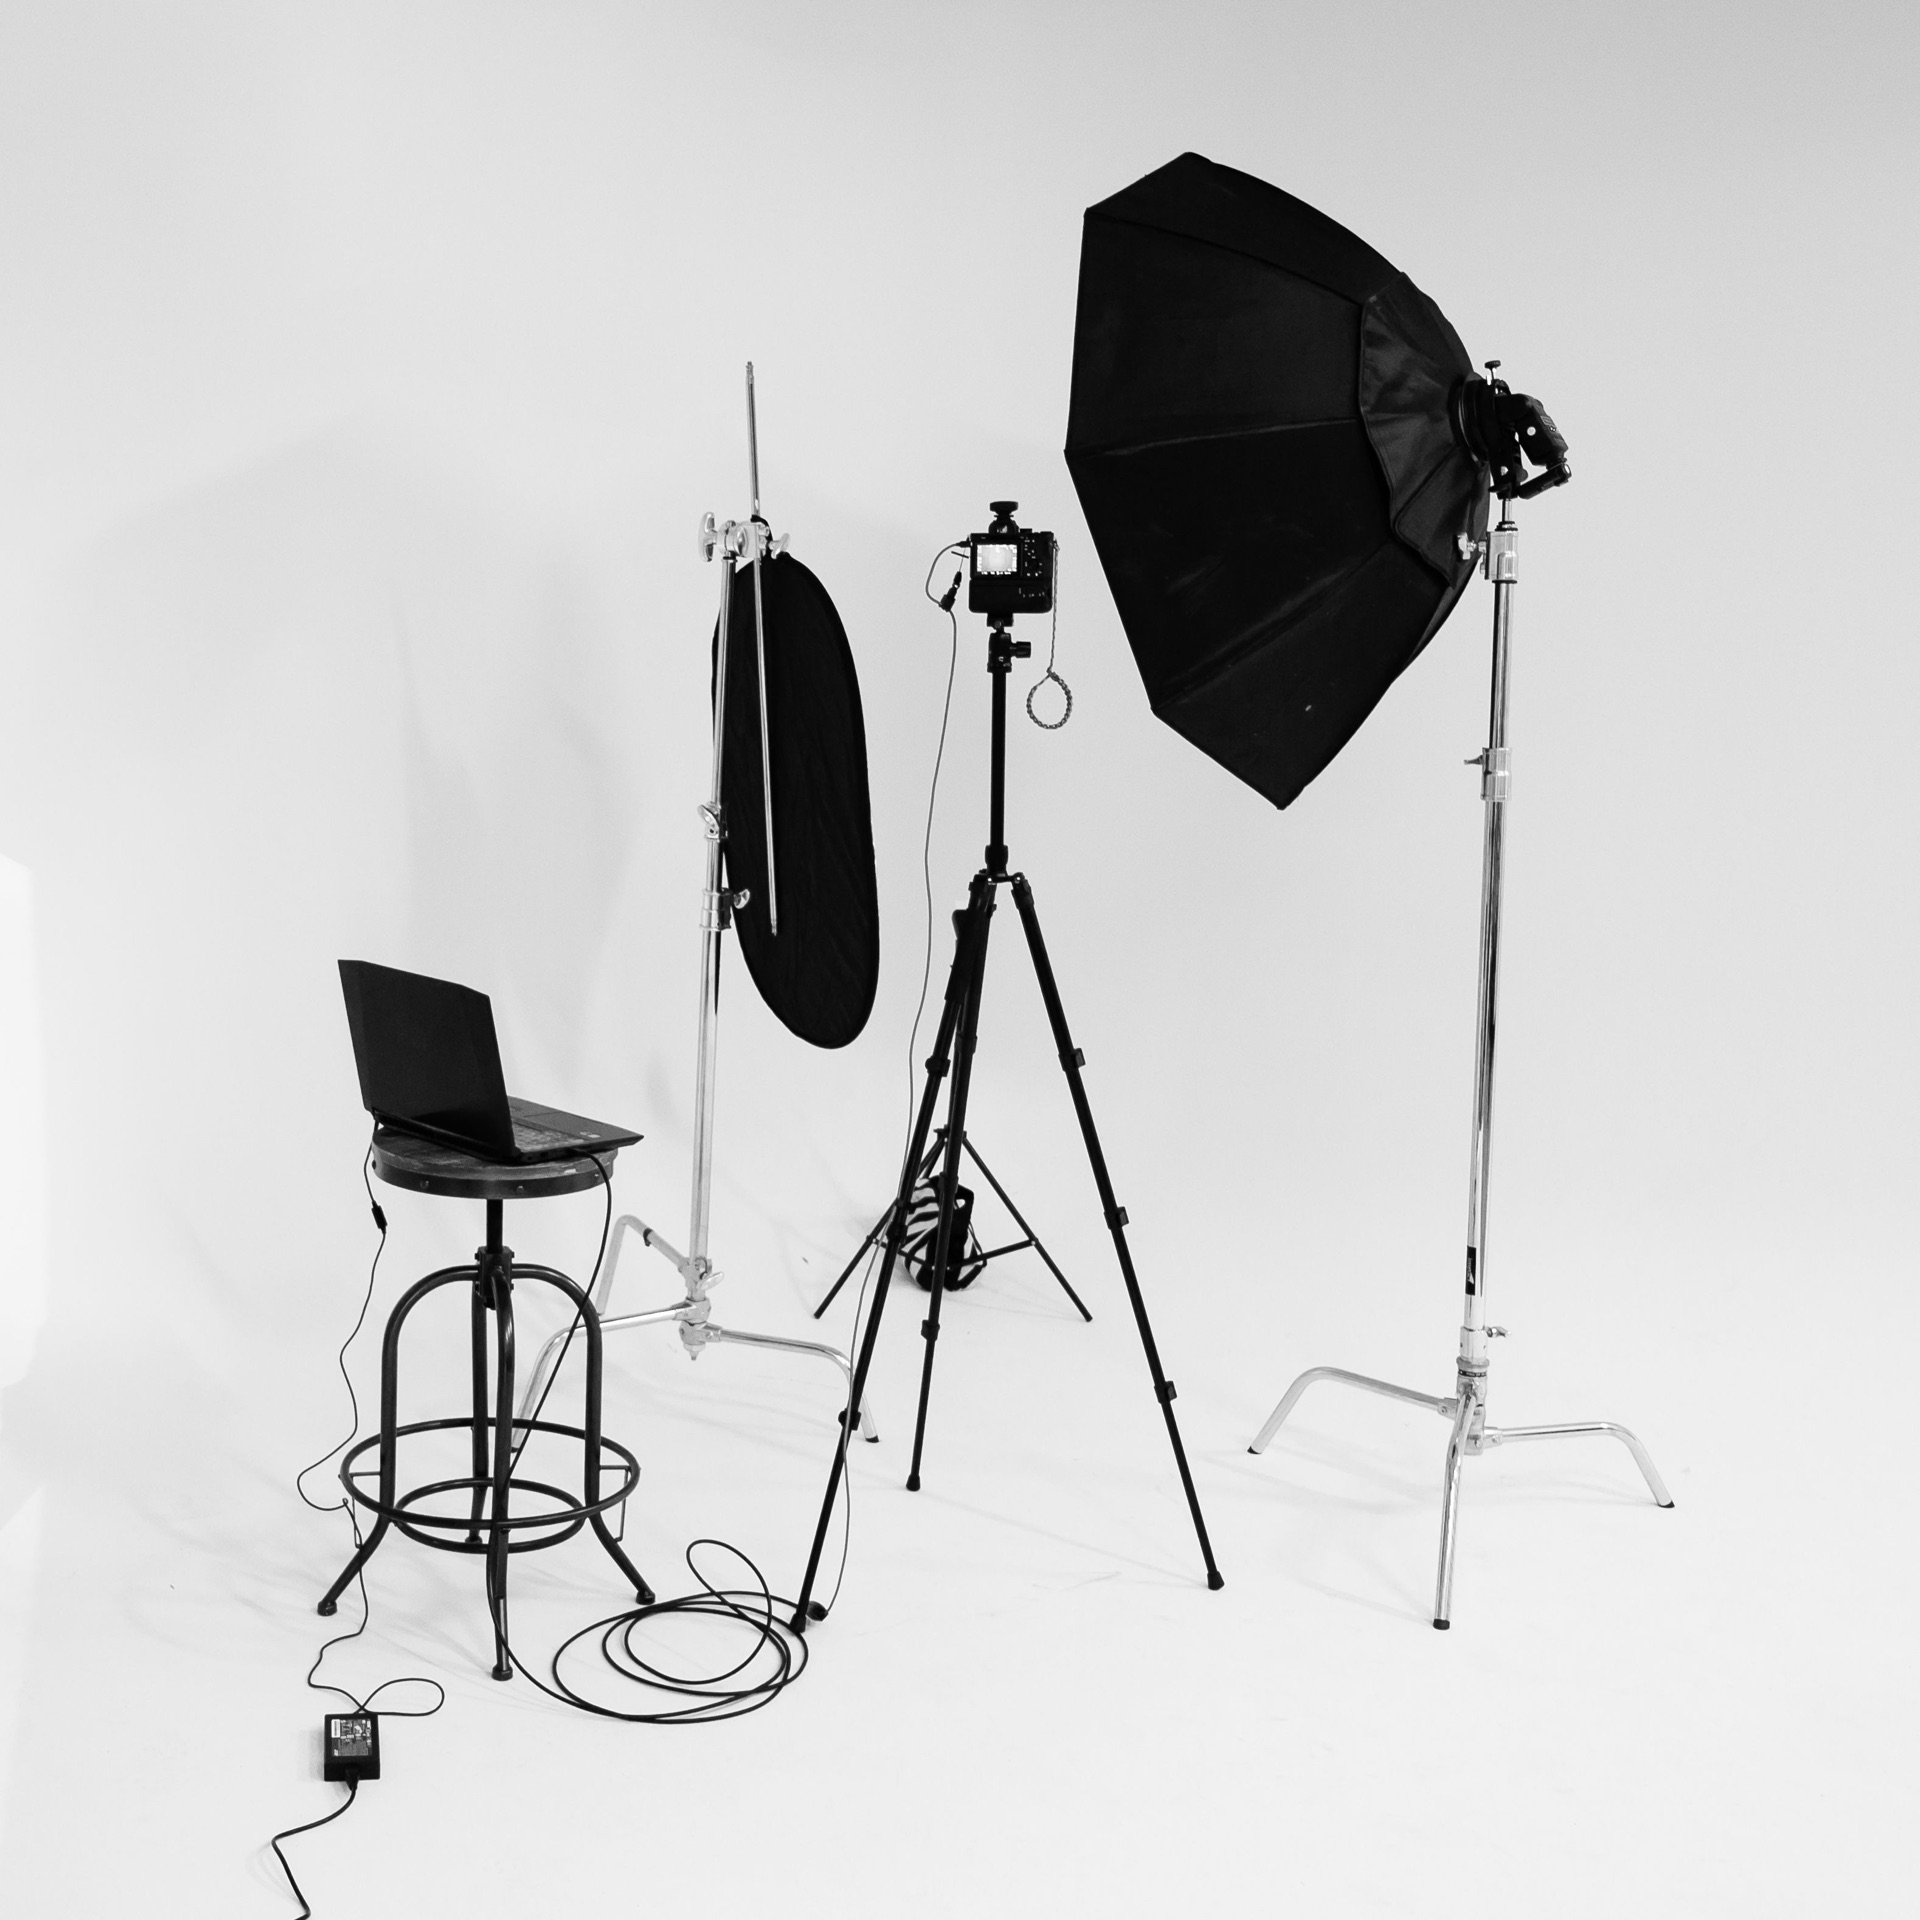
Without renting a studio or buying expensive equipment, you can shoot professional-looking product photos at home or in a small office corner. What you need isn't a big budget, but knowing how to use light, background, and editing correctly. In this guide, we cover the fundamentals of producing budget-friendly yet effective product images.
Why does product photography directly affect sales?
In online shopping, customers can't touch, try, or smell a product; they base their decision largely on photos. A blurry, dark, or color-inaccurate image undermines trust no matter how good the product actually is, raising your return rate. Conversely, a consistent, well-lit, sharp set of images makes the same product look more trustworthy; we covered ways to lower return rates with visuals and sizing information in our guide to product descriptions and size charts that reduce returns.
The good news: professional equipment isn't required. Today's smartphone cameras offer sufficient resolution for most product categories with the right lighting and a stable setup. Where you need to invest isn't the camera — it's light and layout.
Light: where your budget is best spent
Light makes the biggest difference in product photography. You have two basic options:
- Natural light: Soft, diffused light near a window without direct sunlight is ideal. Mid-morning or mid-afternoon hours are more usable than the harsh overhead light of midday sun,
- Artificial light: Two affordable LED panels (one main light, one fill light) deliver consistent results regardless of weather; if you're getting serious about product photography, this small investment pays for itself quickly.
Whichever source you use, avoid harsh shadows. Placing a white reflector card (or a simple piece of styrofoam) opposite the light source softens shadows and illuminates the other side of the product. This one step makes the biggest difference between an amateur and a professional look.
Background: keep it simple, avoid distractions
For marketplace listings, a plain white background is generally preferred; many marketplaces require it as a standard. You can build a simple "infinity backdrop" by curving white cardboard or poster board so the line between background and surface disappears; the material cost is just a few dollars.
On your own site or in social media content, lifestyle shots work well: showing the product in use tells a story. But don't mix the two styles — keep catalog images simple and consistent, and let lifestyle images be more atmospheric.
Setup and angles: repeatability is key
If you're shooting dozens of products consistently, mount the camera on a tripod (or a stable surface if you don't have one) and use the same angle, distance, and lighting setup for every product. This consistency makes your product listings look cohesive and trustworthy.
Aim for at least four shots per product: a straight-on front angle, a slightly elevated three-quarter angle, a close-up of a key detail, and, if relevant, a shot with a reference object that conveys scale. For categories like clothing and accessories, a shot on a mannequin or model noticeably increases conversion rates.
A repeatable shooting session takes much less time if you follow this order:
- Fix the light source and reflector in place, and set white balance once,
- Set up the background (infinity backdrop or plain surface) and check for dust and wrinkles,
- Mount the camera on a tripod and mark the same distance and angle for every product,
- Shoot the four designated frames (front, angled, detail, scale) in sequence,
- Edit the entire series at once using the same preset.
"The customer can't touch the product; your photo has to give them that sense of touch instead."
Editing: stay true to reality, don't overdo it
Post-shoot editing exists to fix three things: exposure (making sure the photo isn't too dark or too bright), white balance (keeping colors from skewing yellow or blue), and cropping (positioning the product correctly in the frame). Most free or low-cost mobile editing apps offer all three adjustments.
The line you need to watch here is clear: keep color and texture true to reality. Making a product look brighter or a different color than it actually is may drive clicks in the short term, but when the delivered product doesn't match expectations, it comes back as returns and complaints. Editing is meant to accurately represent what the eye sees, not to make the product look better than it is.
Using the same editing settings (same brightness, contrast, crop ratio) across all products creates visual cohesion in your catalog. Creating a "preset" in your editing app and applying the same setting to every new product photo is much faster than editing each one individually for hours.
Choosing equipment by budget
How much you should invest in equipment depends on how many products you'll shoot and how often. Here's a typical setup for three budget levels:
| Level | Equipment | Who it's for |
|---|---|---|
| Starter | Smartphone, window light, white cardboard reflector, and infinity backdrop | New stores starting with a small number of products |
| Mid-range | Two LED panels, a simple tripod, a macro lens attachment for the phone | Stores adding products regularly, on a weekly basis |
| Advanced | Mirrorless camera, softbox lighting kit, rotating shooting table | Brands managing a large catalog across multiple categories |
Tips for small products and special cases
For small products like jewelry, cosmetics, or electronic accessories, using macro (close-focus) mode brings out the details. For reflective surfaces (glass, metal, glossy plastic), experiment with changing the angle of the light source so the camera and objects in the room don't reflect onto the product; trying a few frames usually solves the problem.
For textile products, adding a close-up shot that shows the fabric's real texture answers the customer's "what does this fabric feel like" question through the photo and reduces support requests. If you'd like to add a description next to the image that's quickly written with AI but still preserves your brand's voice, check out our guide to writing product descriptions with AI, and for copy structured to boost persuasive power, see our workshop on writing persuasive product descriptions.
Home studio checklist
- Do you have a soft, diffused light source (window or LED panel)?
- Are you using a reflector to soften shadows?
- Do you have a simple, consistent background for catalog images?
- Are you repeating the same angle and distance for every product?
- Does your editing keep color and scale true to reality?
- Are you shooting at least four different frames per product (front, angled, detail, scale)?
A good product photo persuades even faster than the best product description. In the Şimşek Software panel, you can add unlimited images to each product and reorder them by drag-and-drop, and manage marketplace image size and format requirements from a single place; once your shoot is done, the rest takes just a few minutes in the panel.